Don't you love flea markets? You always feel like you are getting a great bargain and you are excited to see what the next booth holds! It's not like going to the mall where you know what each store has to offer - at the flea market you get a new experience every 20ft! Of course you can find new items but the hard core flea market shoppers scoff at the new in favor of that vintage something or that item the seller underpriced because they didn't know what they had. My mom picked up a beautiful teak outdoor dining set for 10% of it's value ($2000+). One of the things I love about flea markets is the imagination that they require... Which brings me to today's post!
A few years ago, I was at the Springfield Flea Extravaganza and found this adorable (again, imagination) chair. I wouldn't claim to be a good bargainer but I ended up buying it for $20! I could already see beyond it's torn '70s fabric that it was going to be great. I mean, who doesn't love tufting? (And it swivels!)
Then it was time to go fabric shopping! I found this really fun thick green and blue leopard print (I know that sounds really tacky but prepare to be surprised) at Jo-Anns in the clearance for $5/yd!
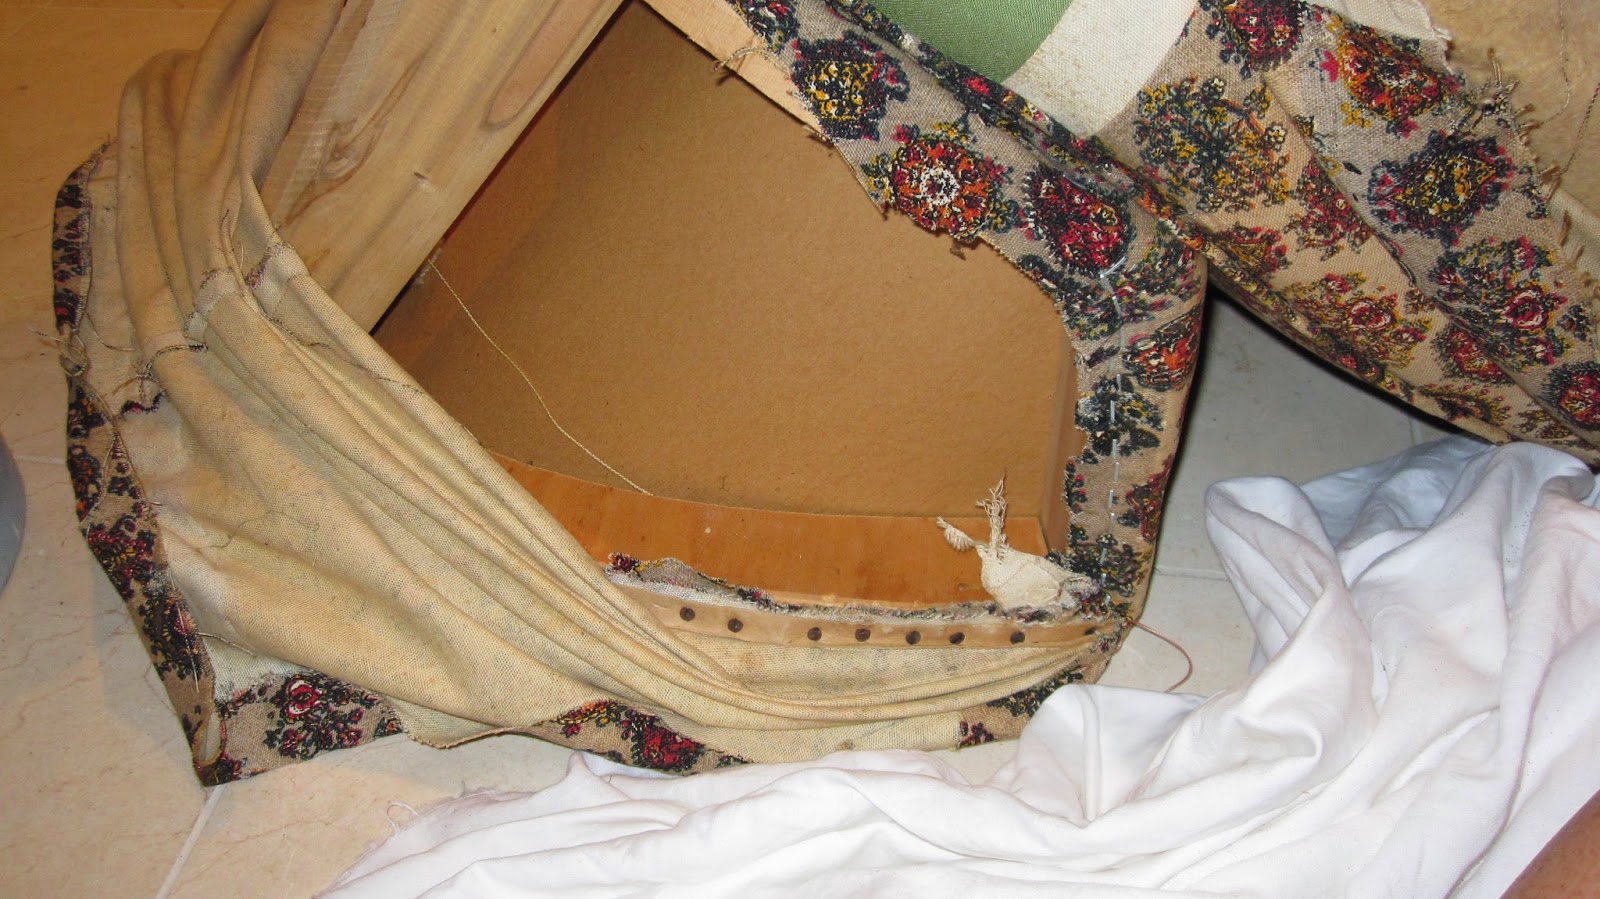
After what felt like hours of staple removal this is what it looked like:
I thought it was really helpful to take pictures as I was deconstructing so that when I later upholstered I had a reminder of how it all went together. My particular chair had a detachable back which made my project much easier. So after I took the back fabric off I unscrewed the back and removed the seat and skirt fabric. Save all of the fabric you take off and don't cut it apart if possible.
If you are going to reupholster you may as well go the whole 9 yards and replace the batting and such. Here you can see that I used a bumper too to make the hard edges of the wood less noticeable when you are sitting (This went on before the actual batting).
This chair was a challenge in that it was fitted and required some piping and other sewing but with a bit of help from my mother (sewing extrodinaire) I was able to do it. The easiest thing I found was to use the pieces of old fabric as a template/pattern (this is why you want to rip the seams rather than cutting the pieces apart). If you are struggling to figure out how much fabric your chair will need (esp. if you care using a high-end fabric) you can wait until you have deconstructed and have your pieces laid out.
This project could have been really painful if I had had to nail or staple without an electric staple gun. I LOVE my Craftsman cordless staple gun! My mom and I have tackled many upholstery projects with it and there is no going back! I'm not sure if they still sell it but this is what it looks like:

To begin, decide which pieces need to be sewn together or have piping and sew them together as if you were making a slipcover. For example, the whole back needed to be sewn as did the seat cover. The skirt had to be be given a clean bottom edge and ironed into pleats. After I had my pieces, I tackled the seat and then slid the "slipcovered" back onto the form. Because my chair had tufting I had to make some buttons (with a simple button making kit from the craft store) and do the actual tufting before I secured the back panel of the back. I should note that some of my project required hand sewing while on the chair to get a tight fit. After I hand sewed the back panel around to the sides, I screwed the back to the bottom. Then I smoothed out the back, hand sewed it to the seat on the sides and stapled the skirt around the bottom. The key to a great finished project is making everything tight and keep tension as you staple.
And the finished product:
Thanks for reading and please subscribe or follow me!


