Wednesday, October 29, 2014

Flea Market Finds: Tufted Chair Reupholstery


Don't you love flea markets? You always feel like you are getting a great bargain and you are excited to see what the next booth holds! It's not like going to the mall where you know what each store has to offer - at the flea market you get a new experience every 20ft!  Of course you can find new items but the hard core flea market shoppers scoff at the new in favor of that vintage something or that item the seller underpriced because they didn't know what they had. My mom picked up a beautiful teak outdoor dining set for 10% of it's value ($2000+). One of the things I love about flea markets is the imagination that they require... Which brings me to today's post!

A few years ago, I was at the Springfield Flea Extravaganza and found this adorable (again, imagination) chair. I wouldn't claim to be a good bargainer but I ended up buying it for $20! I could already see beyond it's torn '70s fabric that it was going to be great. I mean, who doesn't love tufting? (And it swivels!)


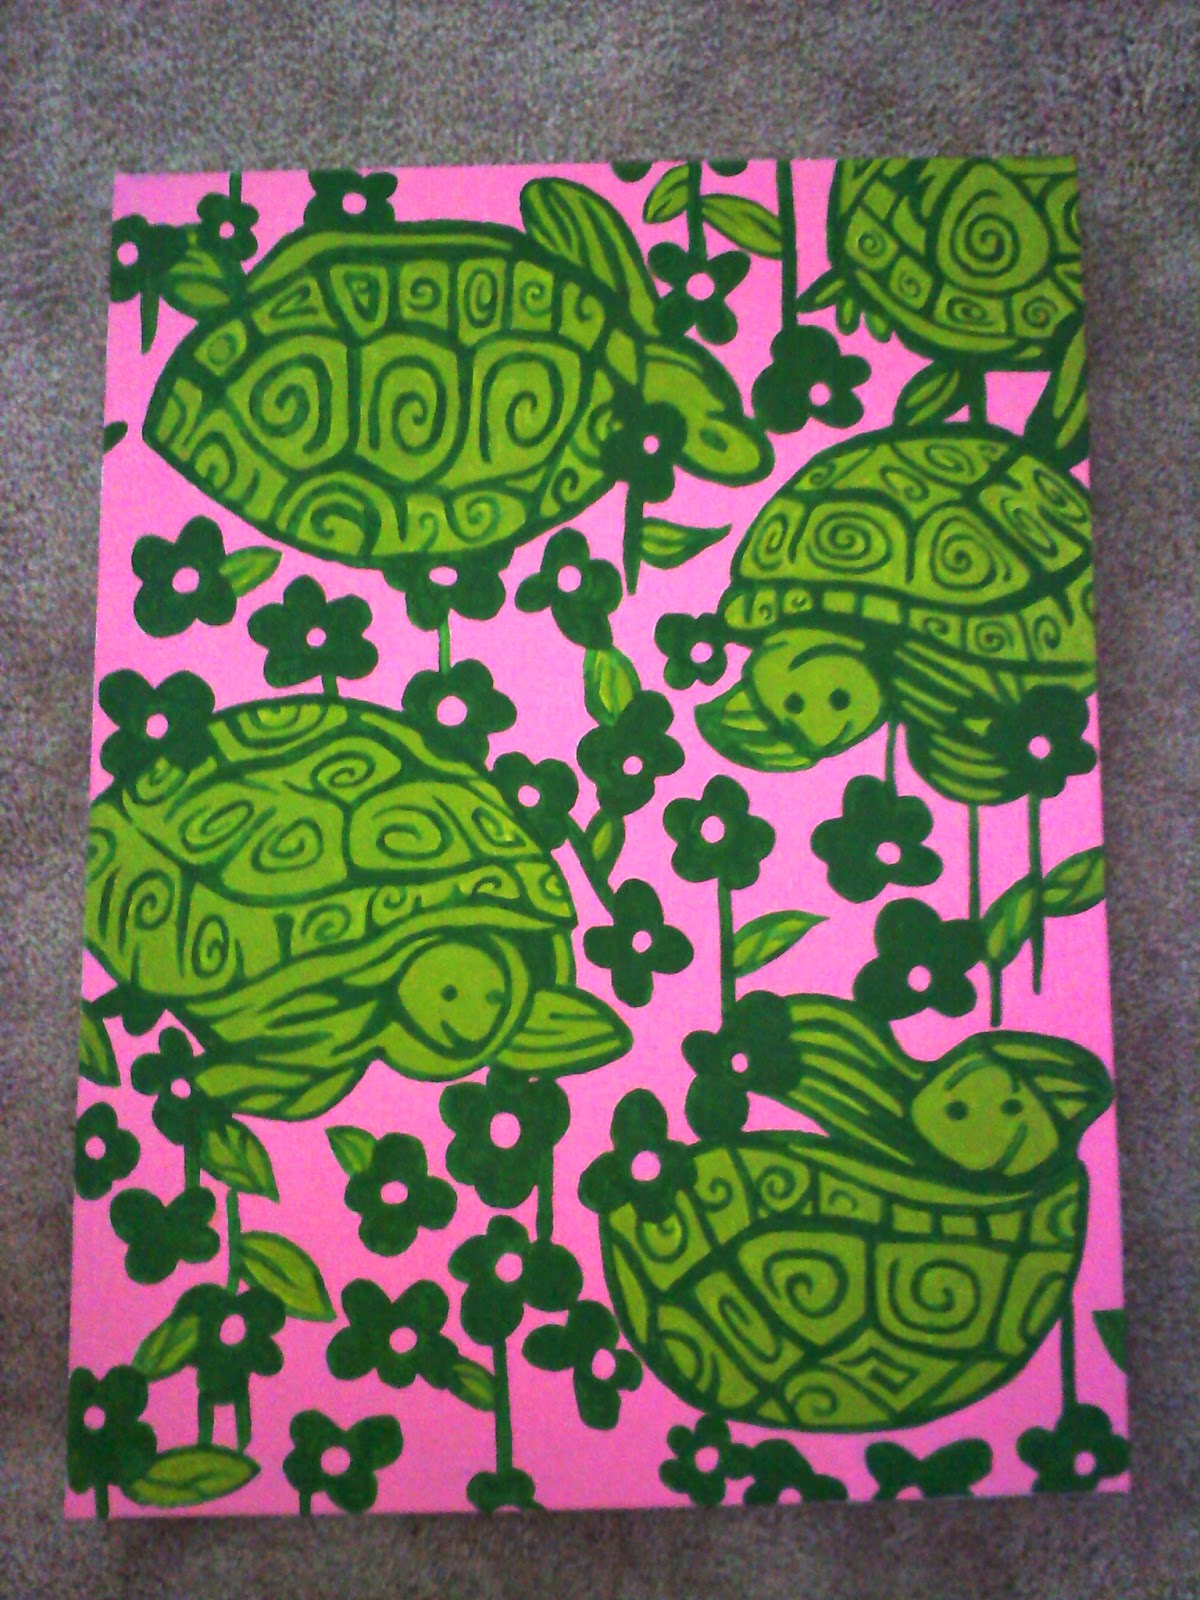
Then it was time to go fabric shopping! I found this really fun thick green and blue leopard print (I know that sounds really tacky but prepare to be surprised) at Jo-Anns in the clearance for $5/yd! 

After what felt like hours of staple removal this is what it looked like:


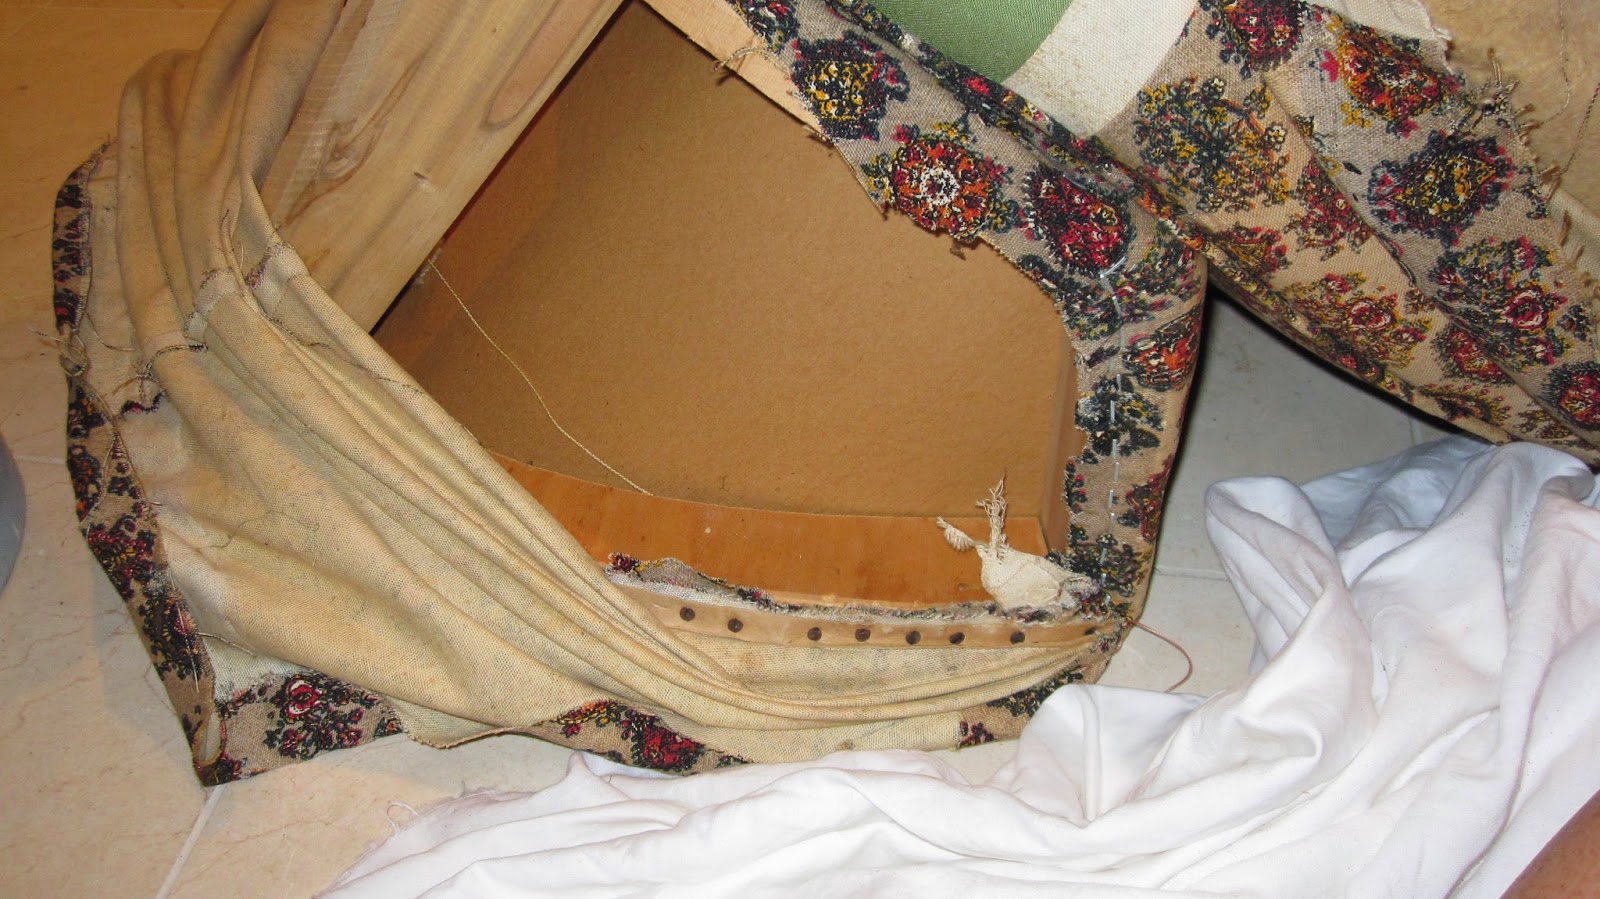
I thought it was really helpful to take pictures as I was deconstructing so that when I later upholstered I had a reminder of how it all went together.  My particular chair had a detachable back which made my project much easier. So after I took the back fabric off I unscrewed the back and removed the seat and skirt fabric. Save all of the fabric you take off and don't cut it apart if possible.

If you are going to reupholster you may as well go the whole 9 yards and replace the batting and such. Here you can see that I used a bumper too to make the hard edges of the wood less noticeable when you are sitting (This went on before the actual batting). 

This chair was a challenge in that it was fitted and required some piping and other sewing but with a bit of help from my mother (sewing extrodinaire) I was able to do it. The easiest thing I found was to use the pieces of old fabric as a template/pattern (this is why you want to rip the seams rather than cutting the pieces apart). If you are struggling to figure out how much fabric your chair will need (esp. if you care using a high-end fabric) you can wait until you have deconstructed and have your pieces laid out. 

 This project could have been really painful if I had had to nail or staple without an electric staple gun.  I LOVE my Craftsman cordless staple gun! My mom and I have tackled many upholstery projects with it and there is no going back! I'm not sure if they still sell it but this is what it looks like:


To begin, decide which pieces need to be sewn together or have piping and sew them together as if you were making a slipcover. For example, the whole back needed to be sewn as did the seat cover. The skirt had to be be given a clean bottom edge and ironed into pleats. After I had my pieces, I tackled the seat and then slid the "slipcovered" back onto the form. Because my chair had tufting I had to make some buttons (with a simple button making kit from the craft store) and do the actual tufting before I secured the back panel of the back. I should note that some of my project required hand sewing while on the chair to get a tight fit.  After I hand sewed the back panel around to the sides, I screwed the back to the bottom. Then I smoothed out the back, hand sewed it to the seat on the sides  and stapled the skirt around the bottom. The key to a great finished project is making everything tight and keep tension as you staple. 

And the finished product:


Thanks for reading and please subscribe or follow me!


Wednesday, October 22, 2014

Colorful Outdoor Iron Patio Set Makeover

I'm movin' on up! Literally! I'm moving up from a "garden level" apt to the third floor and with the move I am also gaining a balcony! 

I was home in Columbus for a week of vacation that I got with my elective rotation and I checked out an estate sale in search of an outdoor set. Success! I snagged the whole set (with cushions, albeit ugly ones) for $47! I also picked up some hurricane glasses, but more on those in a later post.


Because it was an older set it had been painted several times before and there were a few spots where the paint was peeling but nothing sandpaper and a bit of elbow grease couldn't fix. Be sure to wash everything down before painting so that the paint can really stick. 

I chose to use Krylon Island Splash and had to do two coats to get full coverage which totaled about 6 cans (+1 for future touch ups). Spray paint is a total rip-off so it's worth it to check your newspaper for the 40/50/60% off coupons that the craft stores put out every week (or you can pull them up on your phone via their websites).


Then it was time for cushions. I ended up using the same inserts that came with the set and just made new covers for them out of outdoor fabric. They aren't anything too fancy but they do have ties with velco on them so that the cushions don't end up in the ravine during a storm. 


Now I just need to work on finding an outdoor rug to complete the space. 

Oh and did I mention that I have a view of my very own version of the hollywood sign? haha


Thanks for reading and be sure to sign up for notifications of new posts!

Wednesday, October 15, 2014

Sip Your Way Through Europe


Happy Winesday Wednesday as my Tri-Delta sister Hoda would say! 


Don't you love decorated wine glasses? The problem is that either they cost a small fortune or there's a glass or two you don't like or you can't find a whole set. But no worries! With a steady hand and some time and patience you can make your dream glasses yourself!

You can get any kind of glasses you like - tumbers, stemless, hardballs, etc. You can find the ones I have here at IKEA (http://www.ikea.com/us/en/catalog/products/30015123/) for less than $5 for 6 glasses!


First step: Find some fun artwork - but be mindful of detail!  If you do a google image search you can filter your results by just clipart or line drawings. I knew that I wanted European landmarks so I tried to find designs that were similar for all of the landmarks. 

Here are the designs I used and some others that I found that I may be using for a project in the future:


Anyways... after you have found your images scale them so that they are all about the same size and will fit on the glasses of your choice. Keep in mind that if you paint two sides of the glass you may want to flip the image to it's mirror image so it is "right" when you look from the "front". If you want to put text on your glasses like it did then find a font and type out whatever you want your glasses to say. 

Next step: take your printed out images/text and tape them to the *inside* of the glasses so that the images are facing outward.  

Now it's time to paint!!! I used *Pebeo Porcelaine 150* but you could probably use any paint intended for glass. This brand is sold at Micheals, Dick Blick and other chain craft/art stores. As you can see, it comes in a number of fun colors so go wild if you are more adventurous than me! I went with basic black.


You just trace over the design you have taped to the inside on the outside surface of the glass.  When I started painting I used a very fine paintbrush but because I was a bit ambitious with my designs I later switched to "painting" with a toothpick which gave me more control. Another advantage of the toothpick is that this this paint is thin (think stained glass) and I found that it was easier to put the paint on thicker (and thereby not having to do a second coat!) with this method. 

That's pretty much it! So pop in a good movie (preferably a long one that you've seen so many times you don't actually need to watch it to know what's going on - cue Bridget Jones Diary, Pride and Prejudice (the real 6hr BBC version), etc) and get to it!

To protect your hard work I would suggest baking your glasses as directed on the back of the paint container. Even after baking, I would still suggest hand washing them - I would probably shed more than one tear if I opened the dishwasher to find naked glasses. 

Final Step: Drink up! That's an order! Enjoy the fruits of thy labor. Mmmm... 7 Deadly Zins, a good Cab or a refreshing Reisling would be great! The men in your life are likely not to appreciate your handiwork so much as your girlfriends so why not have a girls night in with girly sangia or cocktails! Cheers and bottoms up!

Here is my Pinterest Board of delicious drink recipes: 
http://www.pinterest.com/katiekenneweg/bottoms-up/


Spain (Aqueducts)     England (Big Ben)     Russia (Kremlin)     France (Tour d'Eiffel)     Greece (Parthenon)     Italy (Tower of Pisa).

Thanks for visiting and be sure to subscribe to see future post and projects!

Monday, October 13, 2014

Can't Get Enough of that Classic Pink and Green

What girl doesn't love Lilly? Her prints, synonymous with Palm Beach prep, are always fun, cheerful and imaginative. Living in an apartment means no wall painting so I needed colorful artwork to brighten up the otherwise boring white walls. Lilly was the answer! I picked three of my favorite Lilly prints that I felt would tie all of the colors in my room together - from the coral bedding to the blue and green leopard chairs to the turquoise throw blankets - no easy task I assure you! 

These are the three that I ended up with:


                                    Later Gator                                     Dessert Tort                                   Prince Charming


I bought three ugly canvas prints from TJ Maxx ($5 each on clearance! new canvases can get pricey) and primed over them with your basic white primer.

Next, I blew up the prints and scaled them to my canvases. Obviously, the more you enlarge the print the less detailed you will make it - for better or worse. I started with Dessert Tort, my easiest print.

With graphite paper, I transferred the images to the canvases. You can see the outline in the pictures below.

To make them fit together a bit better I used roughly the same paint palate and changed some of the colors from the original prints. I used the regular craft store acrylic paints (about 2oz bottles) that you can find anywhere in just about any color.

Let the paint by numbers commence...


        I ended up going over the dark green once more to make it more opaque. You can see how big of a difference the second coat makes below, particularly on the tortoises.


This (Dessert Tort) was the first one that I did and after completing the other two I felt that I needed some blue to help tie them all together. I ended up tweaking all of the designs to help them mesh better and incorporate the colors I wanted from my room. 


 A second coat of dark green really did the trick.


 I know that this may seem like a big project and it was but I just did a little everyday. You can only study so long, right? I considered it art therapy to wind down from the day and would pop in a movie or have a glass of wine as I painted. 

--------------------------------------------------------------------------------------------------------------------


Thanks for visiting and be sure to subscribe to see future post and projects!